


Want to fake a smaller nose, roll back the years or simply slim down your face? As Mario Dedivanovic, the make-up master behind Kim Kardashian’s sculpted bone structure, explains, it’s all in the contouring. We reveal his six easy steps on how to contour…
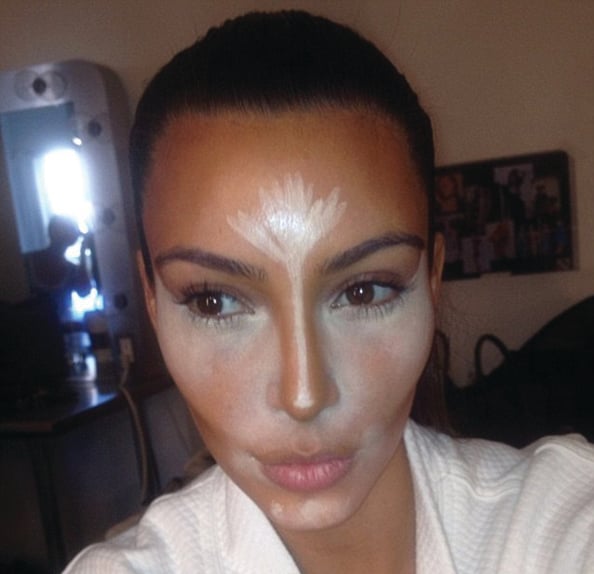
Kim K shares her contouring base via Instagram.
STEP ONE: COMPLEXION PERFECTION
“Start with an emollient moisturiser pressed all over the face using your fingers. Not only does it wake the skin up but it also helps the foundation stick to the surface better and protects the pores from becoming clogged. Match the foundation to your face by testing it on your neck and then applying evenly using a brush. Next, take a foundation colour up to two shades deeper than your skin tone and press it into areas you will later contour such as the hollows of the cheeks and under the jawline. Set the final look with a light powder using a small sponge.”
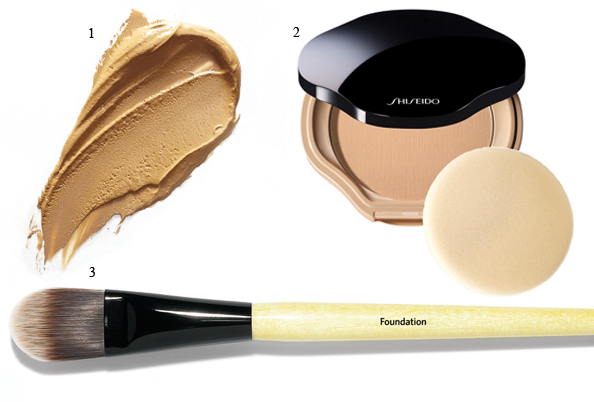
1 Invisible Corrective Makeup Dhs419 Eisenberg at Paris Gallery
2 Sheer and Perfect Compact Foundation Dhs191 Shiseido
3 Foundation Brush Dhs199 Bobbi Brown

STEP TWO: CONCEAL AND REVEAL
“I suggest using a concealer only after you’ve applied your foundation. This allows you to see what problem areas are still showing even through the first layer of make-up. Start with a cream concealer applied using a damp Beauty Blender sponge, it really helps the product melt into the skin and become compatible with the foundation. Next, take a liquid concealer and, using a small brush for accuracy, trace an upside-down triangle under each eye meeting in a point at the top of the cheek. Fill in this area with the liquid concealer and blend the edges out using a tapping motion with your sponge.”
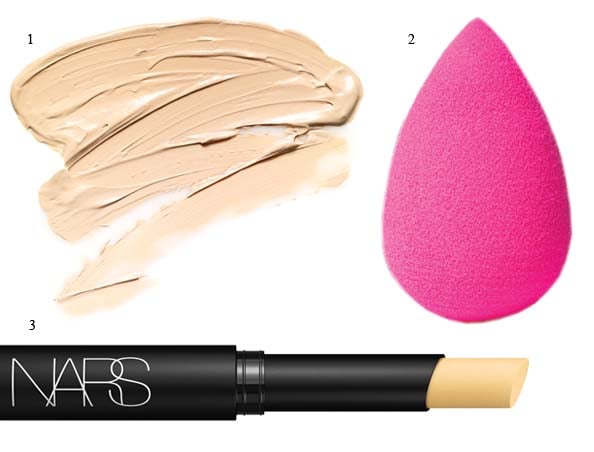
1 Instant Light Concealer Dhs145 Clarins
2 Beauty Blender Dhs80 Sephora
3 Stick Concealer in Pear Dhs125 NARS
STEP THREE: FOLLOW YOUR NOSE
“Once you have applied your base colour all over the face it’s time to contour the nose using either a liquid or a cream foundation. It’s definitely something you want to practice doing as it can take time to perfect the colours and shading. Using a light pressure with a small concealer brush, simply sweep your contour colour down each side of the bridge of the nose, meeting at a point at the tip. Then blend into the skin using your fingers.”
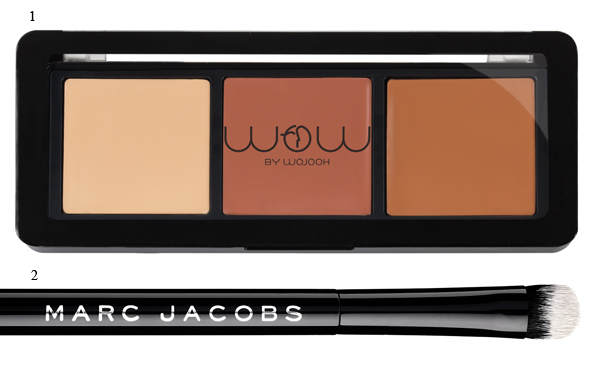
1 Contour Revolution Sculpting Palette Dhs110 Wow by Wojooh
2 Precision Concealer Brush Dhs150 Marc Jacobs at Sephora
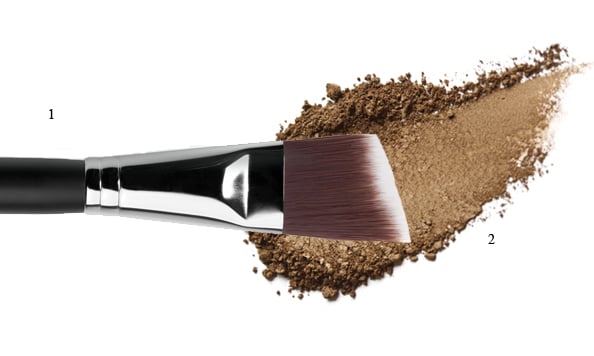
STEP FOUR: LIGHT ‘EM UP
“Use a matte white highlighter two to three shades lighter than your skin to highlight the bridge of your nose, across the tops of your shoulders, on the shelf of the cheekbones and finally under the browbone. Aesthetically the more symmetrical your face looks, the more beautiful it will appear, so I recommend highlighting one side of your face first and then working on the other side so they match. If you have any powder left on your brush press the excess into the corner of your eye; it will instantly brighten the area.”
1 Wide Powder Brush Dhs159 Sephora
2 Illuminating Powder Dhs190 Burberry
STEP FIVE: BLUSH HOUR
“If you’re not sure where you should be applying colour on your face, imagine a straight line descending from each pupil down to the bottom of your chin and don’t pass inside that line with your contouring. All colour should be done in an outwards, rather than inwards direction; it helps lift the face and keeps you looking youthful. I use a matte blusher on cheeks as it stays on liquid and cream foundations better. Starting at the peak of the cheekbone, sweep the colour gently to the top of the ear and diffuse it out until it connects with your bronzer.”
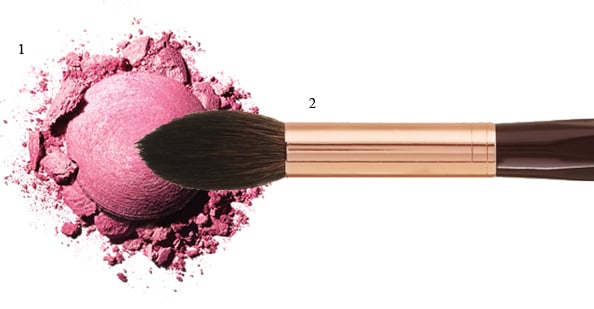
1 Illuminating Blush Dhs65 Mikyajy
2 Powder Brush Dhs179 Charlotte Tilbury at net-a-porter.com
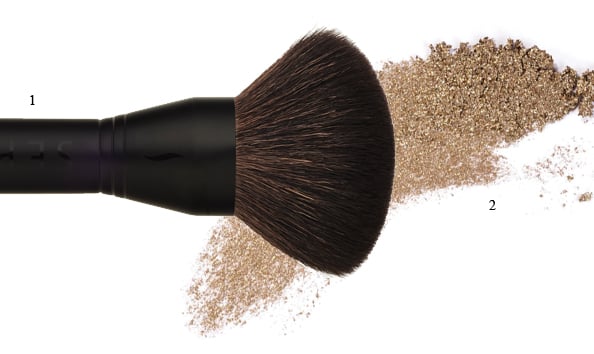
STEP SIX: BRONZE AGE
“Using a matte bronzer to sculpt cheekbones looks a lot more realistic than a shimmery powder. Only contour places on the face that need a little help like the chin and jawline; if a girl has great cheekbones already I won’t add anything to them. I like to use a large brush that widens to a point as it diffuses the product evenly on the skin so you don’t end up looking cakey. Use very light, sweeping motions to place the bronzing powder where you want it and then, when you’re happy with the look, use a wide, clean brush to blend the colour into the cheeks.”
1 Contour Brush Dhs70 Inglot
2 Photo Filter Powder Dhs236 Smashbox
MARIO’S CONTOURING COMMANDMENTS
DO use a powder blush and bronzer rather than a cream one. If not applied properly, creams can leave the face looking muddy
DO keep your look soft and natural in the daytime, heavy contouring is for after-hours
DO remember that matte skin can look great on the red carpet, but if in doubt go for a dewy finish
DON’T forget to blend, blend, blend. Whether you prefer brushes, sponges or your fingers – this is the most important step
DON’T use bronzers and blushers with cool base tones, they will make your face look ashy
Images: Getty, Instagram, 123RF


